At TaxFile.app, we provide powerful tools to enhance your brand and streamline communication. This guide will walk you through setting up two distinct portals: the Online Access Portal for secure form delivery to employees and recipients, and the Client Collaboration Portal for tax professionals to work directly with their business clients.
Customizing your portals strengthens your brand identity, improves security, and simplifies the entire W2 and 1099 filing process.
Which Portal Should You Use?
First, let's clarify the purpose of each portal to ensure you're setting up the right one.
| Portal Type | Online Access | Client Portal |
|---|---|---|
| Who is it for? | Businesses & Tax Professionals | Tax Professionals Only |
| Who uses it? | Employees & Recipients (e.g., your staff or independent contractors) | Your Business Clients (e.g., the companies you file for) |
| Primary Purpose | Securely deliver final copies of W2s and 1099s. | Collaborate on filings, share documents, and get form approvals. |
Online Access: For Your Employees & Recipients
The Online Access Portal is your secure, branded hub for distributing tax forms to their final recipients. When you file a W2 for an employee or a 1099 for a contractor, this is the portal they will use to view and download their copy.
Key Benefits:
- Elevate Your Brand: Customize the portal with your logo and color scheme for a professional, consistent brand experience.
- Secure & Instant Delivery: Eliminate the need for paper mail by securely distributing digital copies of tax forms.
- Lifetime Access for Recipients: Once shared, recipients have lifetime access to their portal to view or download their forms anytime, reducing your support requests.
How to Set Up the Online Access Portal
Follow these steps to customize the secure portal for your recipients:
-
Navigate to Settings: Click the Settings icon in the top-right corner and select "Online Access".
-
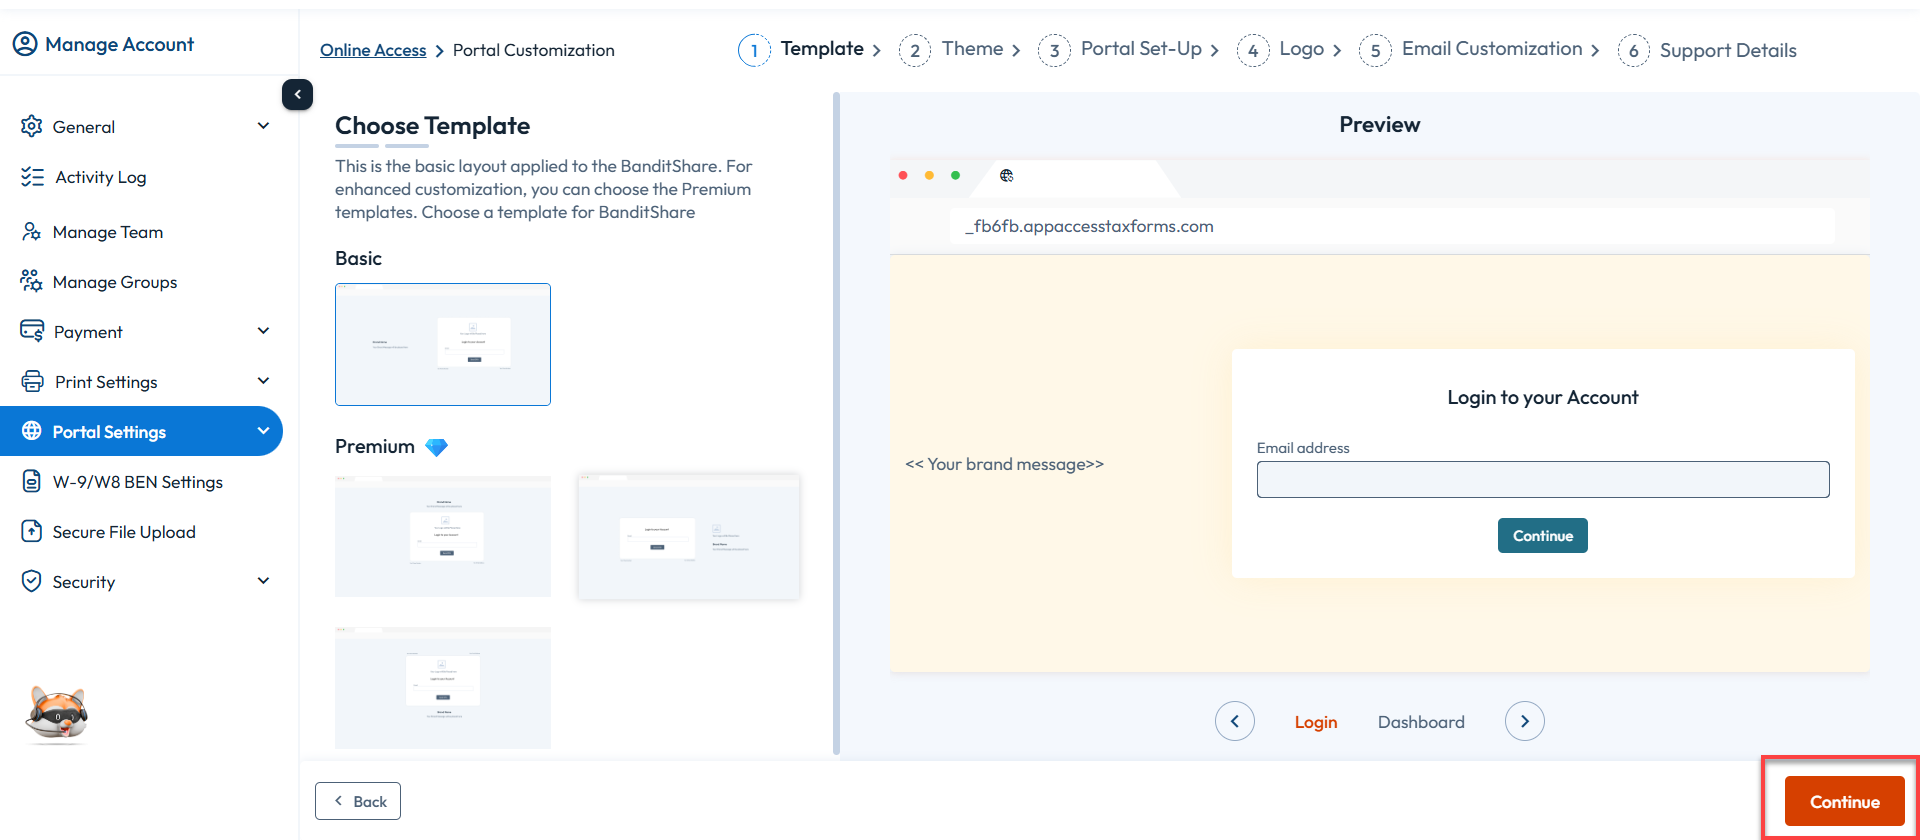
Choose a Template: Select a free or premium pre-built template that best suits your brand and click ‘Continue’.
-
Customize Your Theme: Select a color scheme that aligns with your brand identity and click ‘Continue’.

-
Set Portal Name & URL: In the ‘Portal Set-Up’ window, define the name your recipients will see. You can use our default URL or create a custom URL for a more branded feel. Click ‘Continue’.

-
Upload Your Logo: Upload your business logo to be displayed prominently in the portal. You can also add a short brand message. If no logo is provided, the first letter of your business name will be used as a placeholder. Click ‘Continue’.

-
Customize "From" Email: Set the ‘From’ name and email address for all portal-related notifications sent to your recipients.
-
Note: This is an outbound-only address. You will not receive replies to it.

-
Note: This is an outbound-only address. You will not receive replies to it.
- Add Support Details: Provide a support email address and phone number where your recipients can contact you with questions. Click ‘Save and Publish’ to launch your portal.
Client Portal: For Your Business Clients (Tax Professionals Only)
Designed exclusively for CPAs and tax professionals, the Client Portal enables you to set up a secure, branded environment to collaborate directly with your business clients throughout the tax season.
Key Benefits:
- Branded Professional Experience: Reinforce your firm's identity with a custom logo, color scheme, and unique URL.
- Effortless Collaboration: Simplify the back-and-forth communication and document exchange with your clients.
- Centralized & Secure Data Exchange: Securely obtain payroll data, TINs, and other filing-related documents from your clients in one place.
- Streamlined Form Approval: Share completed forms with clients for review and approval directly within the portal, ensuring accuracy and creating a clear audit trail.
- Advanced Data Security: Built with robust security measures to protect you and your clients' most sensitive information.
How to Set Up the Client Collaboration Portal
-
Start Customization: Click the Settings icon in the top-right corner and select "Customize Client Portal". Click "Start Customization".
-
Accept Terms & Begin: Review the feature explanation, accept the terms and conditions, and click "Continue" to begin the simple 5-step setup process.
-
Portal Setup: Create a personalized and professional URL for your clients to access the portal. This should align with your firm's name.
-
Logo Customization: Upload your firm's logo. If you skip this, the first letter of your firm's name will be used as a placeholder.
-
Theme Customization: Choose a color palette that matches your brand's aesthetic.
-
Support Details: Provide your primary support contact information so clients know how to reach you for assistance.
- Publish Your Portal: Once complete, save and publish the portal to make it live for your clients.